Monthly Archives: November 2012

Chicken Tetrazzini

I’ve had this recipe bookmarked for a while now. Actually to be more accurate, I have tons of recipes bookmarked that have caught my eye, but that I never seem to have enough time to try. When your in a hurry to get something on the table, you usually go for a reliable stand-by. Something you know is good and that you can make in a hurry. Well when I recently started going through my bookmarks, I was surprised at how many yummy sounding recipes I had collected, and I decided it was about time to start crossing them off my list. You will be seeing a lot more recipes from me as I start going through them. Once you try this great pasta dish, it will become a favorite. Its perfect for those who love the creaminess of a fettuccine but crave more substantial flavor. I love that it has chicken, mushrooms and peas!  With over 1000 reviews and a rating of five stars, you know it’s gotta be good right? It was. It was so rich and packed with flavor it inspired a rain of complements from my husband. This is a great, hearty dish that will fill you up during the winter months. Make it to impress that special someone and it won’t dissapoint!


Chicken Tetrazzini (adapted from Giada de Laurentis)

Ingredients

  • 9 tablespoons butter
  • 2 tablespoons olive oil
  • 4 boneless skinless chicken breasts
  • 2 1/4 teaspoons salt
  • 1 1/4 teaspoons freshly ground black pepper
  • 1 pound white mushrooms, sliced
  • 1 large onion, finely chopped
  • 5 cloves garlic, minced
  • 1 tablespoon dry (or fresh) thyme leaves
  • 1/3 cup all-purpose flour
  • 4 cups whole milk, room temperature
  • 1 cup heavy whipping cream, room temperature
  • 1 cup chicken broth
  • 1/8 teaspoon ground nutmeg
  • 12 ounces linguine (I used fettuccine pasta)
  • 3/4 cup frozen peas
  • 1/4 cup chopped fresh Italian parsley leaves
  • 1 cup grated Parmesan
  • 1/4 cup dried Italian-style breadcrumbs

Directions

Preheat the oven to 450 degrees F.

Spread 1 tablespoon of butter over a 13 by 9 by 2-inch baking dish. Melt 1 tablespoon each of butter and oil in a deep large nonstick frying pan over medium-high heat. Sprinkle the chicken with 1/2 teaspoon each of salt and pepper. Add the chicken to the hot pan and cook until pale golden and just cooked through, about 4 minutes per side. Transfer the chicken to a plate to cool slightly. Coarsely shred the chicken into bite-size pieces and into a large bowl.

Meanwhile, add 1 tablespoon each of butter and oil to the same pan. Add the mushrooms and saute over medium-high heat until the liquid from the mushrooms evaporates and the mushrooms become pale golden, about 1-2 minutes. Add the onion, garlic, and thyme, and saute until the onion is translucent, about 8 minutes.Transfer the mushroom mixture to the bowl with the chicken.

Melt 3 more tablespoons butter in the same pan over medium-low heat. Add the flour and whisk for 2 minutes. Whisk in the milk, cream, broth, nutmeg, remaining 1 3/4 teaspoons salt, and remaining 3/4 teaspoon pepper. Increase the heat to high. Cover and bring to a boil. Simmer, uncovered, until the sauce thickens slightly, whisking often, about 10 minutes.

Bring a large pot of salted water to a boil. Add the linguine and cook until it is tender but still firm to the bite, stirring occasionally, about 9 minutes. Drain. Add the linguine, sauce, peas, and parsley to the chicken mixture. Toss until the sauce coats the pasta and the mixture is well blended.

Transfer the pasta mixture to the prepared baking dish. Stir the cheese and breadcrumbs in a small bowl to blend. Sprinkle the cheese mixture over the pasta. Dot with the remaining 3 tablespoons of butter. Bake, uncovered, until golden brown on top and the sauce bubbles, about 25 minutes.

1 Comment

Filed under Italian, Main Meals, Meat, Uncategorized

Thai Shrimp Green Curry


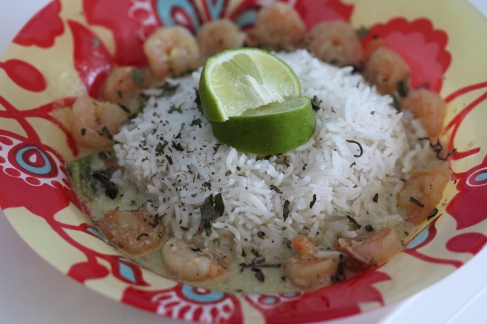
In contrast to Bahrain, the weather here is awful. The bitter dry winds of winter have begun to blow, and the frost in the air is sign that a long and cold winter is ahead. So what else to make but a flavorful, light, mild curry that salutes the good old summer days? This curry has been a favorite of mine ever since my mom made it for me when I last visited. Now I request it all the time. If I had known how simple it was to make myself I made have saved my requests for more challenging dishes! Oh well, there is always next time… 


You must make this dish, it is so perfect for weeknights when you don’t have a lot of time to get dinner on the table. All the asian spices can be found in major supermarkets. The flavors marry so well together to form a complex fragrant sauce that will have you scooping up seconds and thirds!


Image


Ingredients
  • 2 tablespoons vegetable oil
  • 1 medium onion, cut in 8 wedges
  • 1 green bell pepper, cut in 8 wedges
  • 1 stalk lemongrass, white bulb only
  • 1 tablespoon coarsely chopped fresh ginger
  • 3 tablespoons Thai green curry paste
  • 2 kaffir lime leaves
  • 3 cups unsweetened coconut milk, 2 (13.5 ounce) cans (or powder reconstituted to same amount)
  • 3/4 cup chicken stock 
  • 1 1/2 pounds medium shrimp, deveined and tails removed 
  • Sea salt
  • 1 lime, juiced
  • Fresh Thai basil leaves
  • Fresh cilantro leaves
  • Lime wedges, for garnish
Directions
Place a large, deep skillet over medium heat and coat with the oil. Saute the onion andgreen peppers for 3 minutes to soften. Split the piece of lemongrass down the middle and whack it with the flat side of a knife to open the flavor. Add the lemongrass, ginger, currypaste and lime leaves to the skillet and stir for 2 minutes. Pour in the coconut milk andchicken broth. Lay the shrimp in the mixture to poach; add a pinch of salt. Stir together and simmer over low heat for 10 to 15 minutes. Squeeze in the lime juice and shower with basil and cilantro; serve in dinner bowls with lime wedges

Leave a comment

Filed under Uncategorized

Ritz Carlton Bahrain Gourmet Lobby Lounge Review

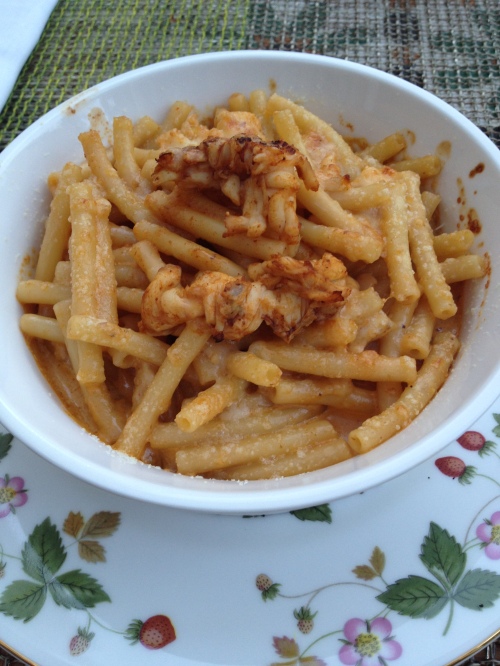
The weather is amazing.  And when the weather is amazing in Bahrain, people jump at the chance for al fresco dining.  A place that I’ve been gradually hearing more buzz about is the newly opened Ritz Gourmet Lobby Lounge outdoor terrace.  The setting is beautiful, with comfortable chairs on a patio overlooking the manicured grounds and swimming pool of one of the swankiest hotels in Bahrain.  Sheesha is available, with a multitude of flavor combinations, which for many will be a huge drawing point.  Indoors, the decor is very reminiscent of London afternoon tea parlors, and is elegant and luxurious without being overdone.  I was most excited about their dessert sundaes, since I feel there is a real lack of sundae places in Bahrain.  We ordered saffron tea, american coffee, tiramisu sundaes, oreo brownie sundaes, and the lobster mac and cheese to try.  The saffron tea was delicious, it had an exotic undertone of flavor without being overpowering.  The lounge also has an extensive tea cocktail menu, which is cold blended tea drinks that I still haven’t tried.  Next came the lobster mac and cheese. 

It was good, but nothing that I’d really crave again.  The sauce was mild and creamy, the lobster pieces were good sized but the whole combination seemed to lack a little flavor.  A few bites, and I was bored of the dish and ready for dessert.  And dessert came looking very good.

The portion size was good, filling without being excessive, and surprisingly I liked the tiramisu sundae more.  The coffee poured over it gave the ladyfingers a nice moistness and the white chocolate whipped cream gave the needed sweetness.  The oreo and brownie sundae was good, but nothing amazing.  The brownie bits were a little dry and the oreos being present in their whole form instead of crumbled also made the sundae a little dry and hard to eat. 

What redeems the Ritz’s lounge for its exorbitant prices (3.300 BD for coffee, 4 BD for each sundae) and slightly above average food is the beautiful ambiance and the setting in which you eat.  I felt like I was somewhere other than Bahrain, the pleasing views, comfortable chairs and attentive service made this a place I know I’ll go again and again.  Only next time, I think I’ll stick to drinks and dessert maybe choosing something from their exquisite looking pastry display case.  Check out the full menu here!

Leave a comment

Filed under Restaurant Reviews

Spinach Artichoke Grilled Cheese Sandwiches

I love spinach artichoke dip and I love grilled cheese sandwiches.  So this recipe instantly got me salivating and ready to go.  It’s a great quick lunch or dinner and is pretty healthy especially if you use low fat cheese and yogurt in place of the sour cream.  It’s also really, really good.  REALLY good.  The key is getting the bread golden brown and crispy while allowing the cheese time to melt so that the inside is a creamy, gooey melty mix.  Could it be any easier to put together a crowd pleasing dinner?  After making this last minute for a couple friends and getting really good feedback, I think the answer is no.  Make this (frequently!) and enjoy.

Spinach Artichoke Grilled Cheese Sandwiches (adapted from A Couple Cooks)

Makes 2 sandwiches (scale up according to how many you need)
Fresh spinach – enough for about 3 cups chopped
Canned artichoke hearts – about 3 (around 6 ounces)
2 cloves garlic
1 tablespoon olive oil
2 tablespoons sour cream
Pinch of red pepper flakes (optional)
1 cup shredded cheese (I used mozarella, use any blend you like)
4 pieces bread (I used a white crusty bread, I think sourdough would work great)
Kosher salt
Butter or more olive oil

1  Dice the 2 cloves garlic. Chop the artichokes. Wash and stem the
spinach, then chop it coarsely.

2  Heat about 1 tablespoon olive oil in a skillet. Add the garlic and
saute for 30 seconds. Then add the spinach and a pinch of kosher salt,
and saute for a few minutes until just limp. Add the artichokes and
red pepper flakes (if you want a tiny bit of spiciness) and saute for
another minute or so, until heated through. Drain off any liquid from
the pan. Stir in 2 tablespoons sour cream and another pinch of kosher salt.

4  Spread butter (or olive oil) on one side of each of the 4 bread
pieces. Heat a griddle pan to medium high heat. Place 2 pieces of
bread on the griddle, buttered side down. On each piece, spread some
shredded cheese, the spinach artichoke filling, some more cheese (1/2
cup cheese per sandwich), and the other piece of bread. When the
bottom bread is browned, flip the sandwich and cook until the bread is
toasted and the cheese is melted.  Or, if you have a panini maker,
just assemble the sandwiches, butter or oil the maker on both sides
and toast the sandwiches in the maker until golden brown and cheese
looks enticingly melty.

Leave a comment

Filed under Cooking for Two, Healthy, Main Meals, Sandwiches, Vegetarian

Too Much Chocolate Cake

I mean is there really such a thing as too much chocolate?  The title does say it all though… this cake pushes the boundaries of chocolateyness and it is decadent.  This is literally the easiest cake you can throw together.  And it is
DELICIOUS.  This is one of my most repeated recipes especially when I need to make something insanely fast and with all the staple ingredients already at home.  I don’t usually like cooking with cake mix, but this is such a good doctored cake mix recipe that it throws all my elitism out the window.  One of my favorite recipes from Allrecipes, I present to you the deliciously, incredibley moist and chocolatey too much chocolate cake.  The addition of the bag of chocolate chips and chocolate pudding mix is genius!

Too Much Chocolate Cake (adapted from allrecipes.com)

1 package devils food cake mix (if you can’t find it, just use dark chocolate)

1 package instant chocolate pudding mix

1 cup sour cream

1 cup vegetable oil

4 eggs

1/2 cup warm water

2 cups (1 bag) semi-sweet chocolate chips

Directions

  1. Preheat oven to 350 degrees F (175 degrees C).
  2. In a large bowl, mix together the cake and pudding mixes, sour cream, oil, beaten eggs and water.  Stir in the chocolate chips and pour batter into a well greased 12 cup bundt pan.
  3. Bake for 50 to 55 minutes, or until top is springy to the touch and a wooden toothpick inserted comes out clean. Cool cake thoroughly in pan at least an hour and a half before inverting onto a plate  If desired, dust the cake with powdered sugar.

Leave a comment

Filed under Cakes, Celebration Cakes

Pumpkin Cheesecake with Gingersnap Crust

Image

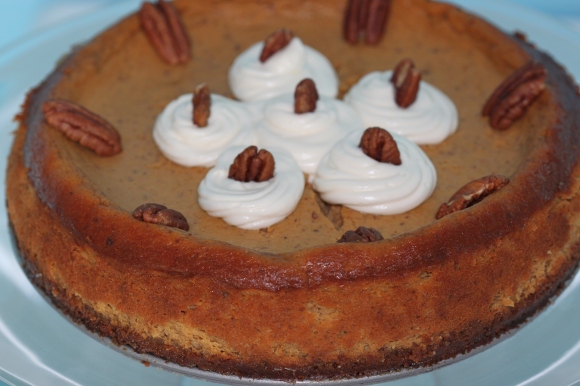
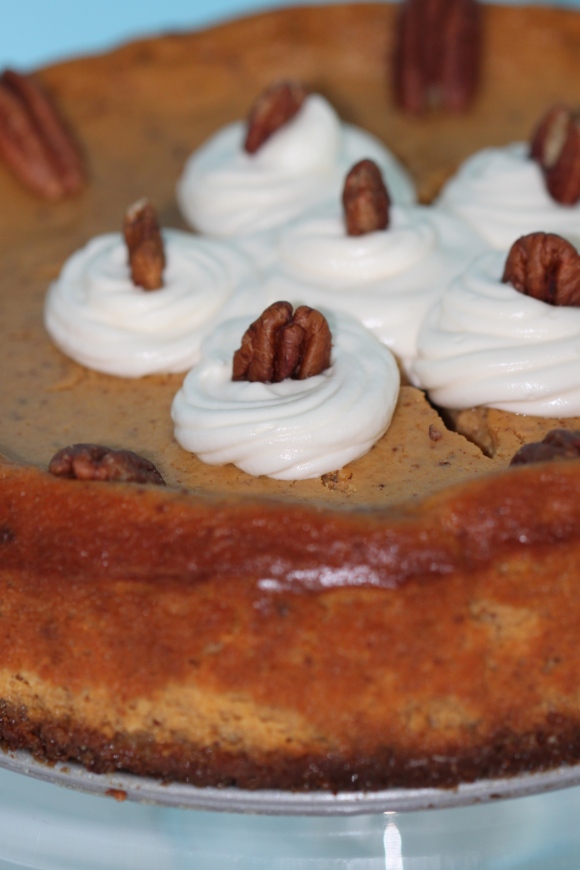
It’s November, and you know what that means… Thanksgiving! It is the holy month for foodies like us, and often my mom goes all out with a traditional turkey dinner, complete with cranberry sauce and green bean casserole. Never on actual Thanksgiving though… weird. Anyways, this recipe comes from the More from Magnolia Cookbook. It is one of their bestselling products at the bakery, and when you make it you will know why. This creamy cheesecake is rich with comforting pumpkin flavor. Initially I was concerned about the lack of spices but the punch of the gingersnap crust against the creamy coolness of the cheese filling gives it enough flavor without being overwhelming. This is a must have addition to any holiday table!

Slightly adapted from the More from Magnolia Cookbook.

Ingredients:

Crust:

  • 1/2 stick unsalted butter, melted
  • 1 1/2 cup gingersnap cookie crumbs
  • 1/2 cup chopped toasted pecans

Filling:

  • 400 grams cream cheese softened
  • 3/4 cup sugar
  • 3/4 cup firmly packed brown sugar
  • 5 large eggs, room temperature
  • 1 1/2 cups canned pumpkin puree
  • 3/4 cup heavy cream
  • 1 1/2 teaspoons cinnamon

whipped cream and pecan halves to garnish

Directions:

Preheat oven to 180C

To make the crust: In a small bowl combine the butter and the gingersnap cookie crumbs with pecans. Press on the bottom of a buttered 10-inch cheesecake pan. Bake for 10 mins. Remove from oven and cool.

To make the filling: In a large bowl, on the low speed of an electric mixer, beat cream cheese until very smooth. Gradually add the sugar, then the eggs one by one. Add the pumpkin puree and mix until just blended. Make sure to stop often and scape the sides and bottom of the bowl to make sure the mix is well incorporated. Stir in heavy cream and cinnamon.

Pour the batter into the pan over the crust, and place the pan on a baking sheet. Bake until edges are set and center is slightly jiggly, about 1 hour. At the end of baking time, turn off the oven and using a wooden spoon to prop the oven door slightly ajar cool the cake in the oven for 1 hour before removing. Cover and refrigerate for 12 hours or overnight.

Remove the cake from fridge 15-30 mins before cutting and serving. Garnish with whipped cream and pecan halves.

Image

Enjoy!

-M

Leave a comment

Filed under Celebration Cakes, Cheesecake, Desserts

Biscoff Brown Butter Rice Krispie Treats

We hosted a big neighborhood barbeque and needed a kid friendly, easy dessert to make.  What’s easier then rice krispie treats?  Of course, it’s hard to resist the urge to glam up such a basic dessert, so the following recipe resulted from my much beloved Joy the Baker cookbook, the jar of biscoff spread sitting in my pantry, and my current browned butter kick.  The result is the traditional taste of rice krispie treats with an edge-something kids and adults alike devoured.  Enjoy! Feel free to substitute the biscoff spread with peanut butter as the original recipe calls for if you don’t have any biscoff on hand.

 Ingredients (adapted from Joy the Baker):
1 stick unsalted butter (113g)
1 (10 ounce) bag marshmallows
½ cup biscoff spread (or peanut butter)
1/4 teaspoon salt
6 cups crispy rice cereal

Directions:
Grease an 8-inch baking dish and set aside. In a large sauce pan, melt butter over medium heat until it starts to brown. (Remember how to do it from this post?) Add marshmallows, biscoff spread, and salt.Stir continuously with a wooden spoon until smooth. 

In separate bowl, measure out the rice cereal.  Pour butter mixture over cereal and quickly stir to evenly coat the cereal. Press into pan with wooden spoon.  Let cool at least 30 minutes before slicing and serving.

Leave a comment

Filed under Bars, Desserts